Flower bouquet ft. Wplus9

Hola!! En el tutorial de hoy les mostraré cómo hice este arreglo de flores, con el set de stamps Pretty Little Peonies de Wplus9, donde utilicé la misma tinta en cada flor para crear dos tonos diferentes. También les mostraré cómo decoré la jarra del set Love Jar de Hero Arts. Espero que lo disfruten! :)

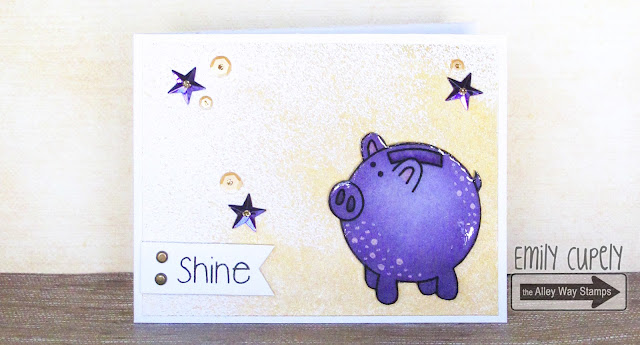
Hello!! In today's tutorial I'll show you how I created a flower bouquet, with the Pretty Little Peonies from Wplus9, where I used the same ink to create two different shades in each flower. Also, I'll show you how I decorated the jar from the Love Jar stamp set from Hero Arts. I hope you enjoy it! :)


http://www.simonsaysstampblog.com/wednesdaychallenge/simon-says-food-andor-drink/

Esta tarjeta la someteré al reto del miércoles de Simon Says Stamp.

I'll submit this card to the Simon Says Stamp Wednesday challenge.
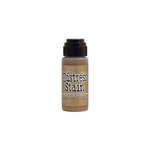
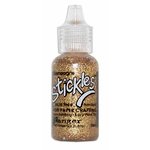
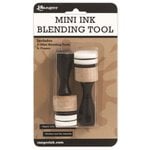


Materiales:
Supplies:


http://www.wplus9.com/pretty-little-peonies/http://www.wplus9.com/pretty-little-peonies-die/ http://www.simonsaysstamp.com/product.aspx?id=121781

http://www.wplus9.com/lake-house-dye-ink/http://www.wplus9.com/lake-house-dye-ink/http://www.wplus9.com/mojito-dye-ink/
Ranger Ink - Liquid Pearls - Dimensional Paint - White Opal American Crafts - 12 x 12 Cardstock Pack - 60 Sheets - Pastels


http://www.simonsaysstamp.com/product.aspx?id=109055


http://www.scrapbook.com/store/ac-35980.html


*Disclaimer: This post includes affiliate links. For more details, please visit my disclaimer page.

Adding Gold Splatters & Shine ft. TAWS

Hola chicos!! Hoy les traigo una tarjeta con mucho brillo, perfecta para la frase. Para alcanzar la cantidad de brillo deseada, utilicé distintos elementos incluyendo mi Distress Stain dorado, unas lentejuelas, Stickles, y Glossy Accents en la imagen principal, para la cual utilicé la adorable alcancía de cerdito de TAWS. Por favor, vea el video de abajo para ver cómo creé el perfecto fondo con spray, y coloreé la imagen estampada. Disfrute! :)

Hi guy!! Today's card has a lot of shine, perfect for the phrase. To achieve the desired amount of shine, I used different elements including my gold Distress Stain, some sequins, stickles, and glossy accents on the main image, for which I used a cute piggy bank from TAWS. Please, watch the video below to see how I created the perfect sprayed background, and colored the stamped image. Enjoy! :)


Materiales:
Supplies:


Ranger Ink - Tim Holtz - Distress Ink Pads - Mini - Shaded Lilac Ranger Ink - Tim Holtz - Distress Ink Pads - Mini - Dusty Concord Ranger Ink - Tim Holtz - Distress Stain - Metallic - Tarnished Brass Ranger Ink - Inkssentials - Mini Mister - Mini Spray Bottles - 3 Pack Ranger Ink - Tim Holtz - Distress Spray Stain - Tarnished Brass

Advantus - Tim Holtz - Idea-ology - Mini Fasteners Ranger Ink - Stickles Glitter Glue - Champagne Ranger Ink - Glossy Accents - Clear Dimensional Embellishment - 2 ounces


Ranger Ink - Tim Holtz - Mini Ink Blending Tool - Round Fiskars - 12 Inch Deluxe Portable Trimmer - White


*Disclaimer: This post includes affiliate links. For more details, please visit my disclaimer page.